Why These Checks Matter More Than Most Drivers Realize
Modern vehicles are engineered to go longer between shop visits, but that doesn't mean fluids take care of themselves. Fluids degrade, evaporate, and absorb contaminants over time. Running an engine low on oil, for instance, can cause irreversible damage within minutes - damage that no warranty will cover if neglect is the cause.
The good news is that checking your vehicle's essential fluids requires no mechanical experience, costs nothing, and takes less time than a coffee run. Think of it as a quick health scan for your car. As part of a broader routine, these checks fit naturally alongside the mileage-based maintenance schedule every vehicle needs.
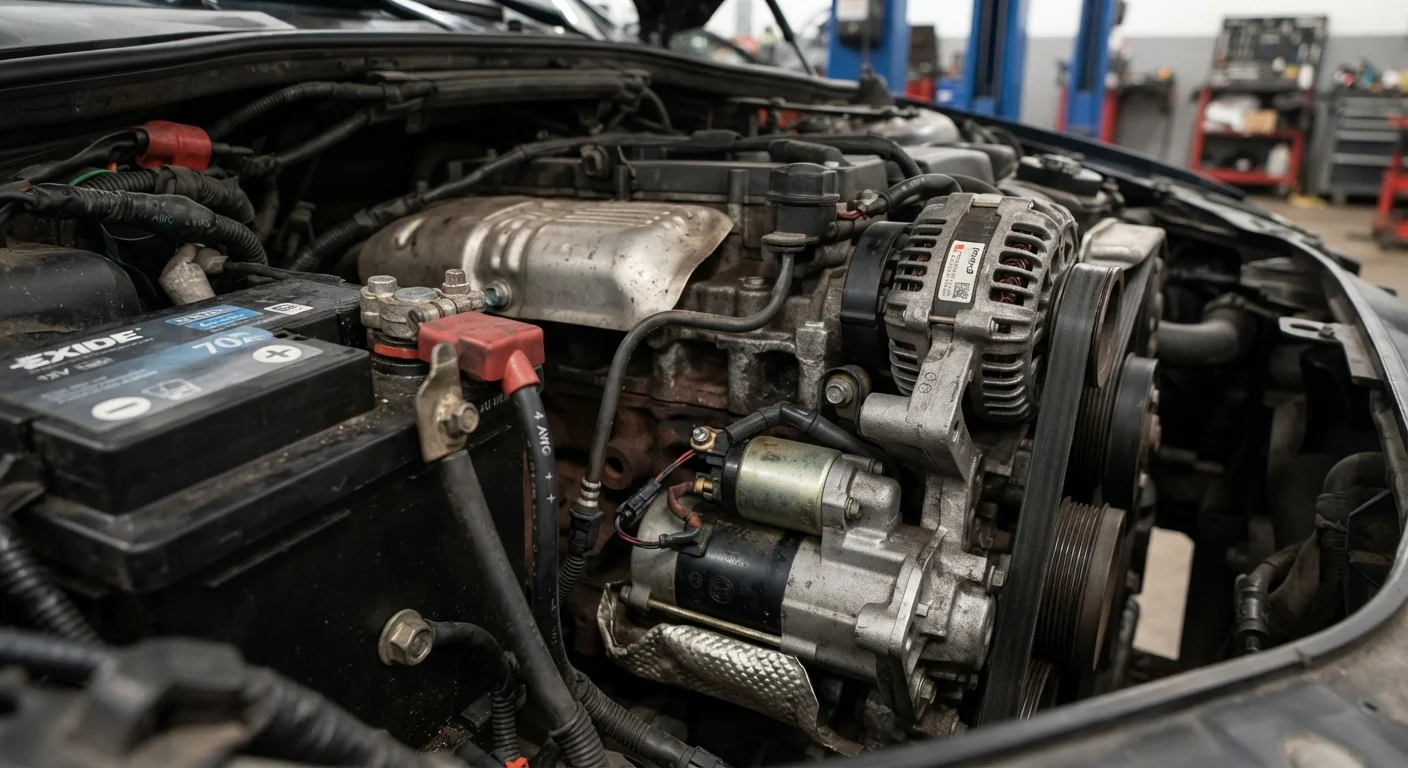
If you've never opened your hood before, the plain-English guide to what's under the hood is a good starting point before working through the steps below.
What you will need
What You'll Need Before You Start
No special equipment is required, but a few basic items make the process cleaner and more accurate. Gather these before you open the hood.
Owner's Manual
Identifies the location of each fluid reservoir and specifies the correct fluid type for your vehicle.
Lint-Free Rags or Paper Towels
Used to wipe the dipstick clean and absorb any small spills when topping off fluids.
Flashlight or Work Light
Illuminates the engine bay for easier reading of dipstick markings and reservoir levels.
Nitrile or Latex Gloves
Protects hands from contact with engine oil, brake fluid, and coolant, all of which can irritate skin.
Step-by-Step: Checking All Five Fluids
Work through each check in the order below. The whole process typically takes 10 to 20 minutes. If any fluid is low, consult your owner's manual for the correct specification before adding anything - using the wrong fluid type can cause damage.
Park on level ground and let the engine cool
Pull onto a flat surface and turn off the engine. For oil and transmission fluid readings to be accurate, the vehicle should be level. Allow at least 5-10 minutes of cool-down time after a short trip; for coolant, wait a minimum of 30 minutes. Open the hood and secure it with the prop rod if your vehicle requires one.
Check the engine oil level and condition
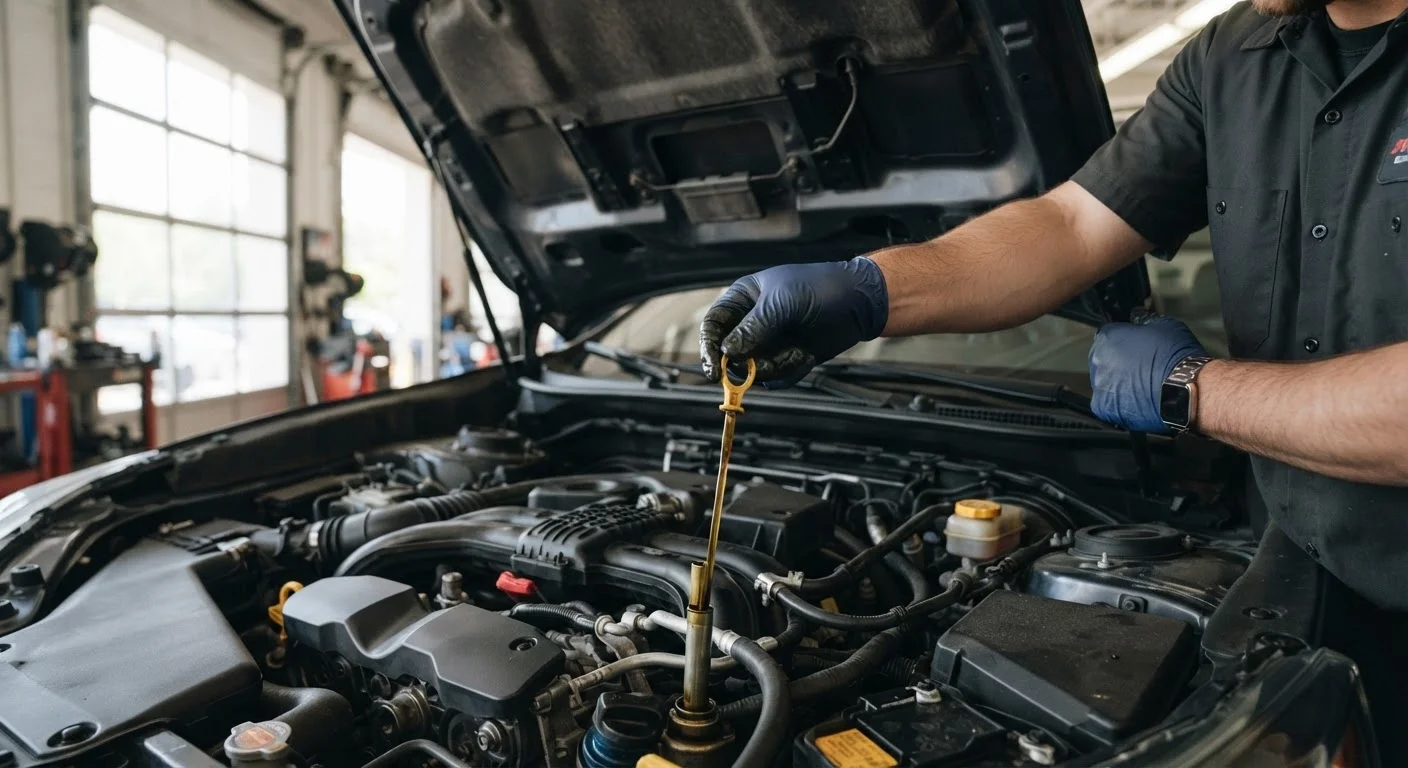
Locate the oil dipstick - it typically has a brightly colored handle (often yellow or orange) and sits near the front of the engine. Pull it out completely and wipe it clean with a rag. Reinsert it fully, then pull it out again and hold it horizontally. The oil film should fall between the MIN and MAX markings. Healthy oil is amber to light brown; very dark, gritty, or milky-looking oil signals it's time for a change or warrants a mechanic's attention.
Inspect the coolant (antifreeze) level
The coolant reservoir is a translucent plastic tank, usually located near the radiator. You can read the level through the tank wall - it should sit between the LOW and FULL markings. Healthy coolant is typically bright green, orange, or pink depending on the formula. Murky, oily, or rust-colored coolant may indicate contamination and should be evaluated by a mechanic.
Check the brake fluid reservoir
The brake fluid reservoir is a small translucent container mounted on top of the brake master cylinder, typically toward the back of the engine bay on the driver's side. Read the level through the side of the reservoir - it should be between MIN and MAX. Brake fluid naturally darkens over time due to moisture absorption; very dark fluid may need to be flushed by a professional. Do not open the cap unnecessarily, as brake fluid absorbs moisture from the air.
Examine power steering fluid (if applicable)
Many newer vehicles use electric power steering and have no fluid to check. If your car has hydraulic power steering, locate the reservoir - usually a small capped container with a steering wheel icon - and check the level using the built-in dipstick on the cap or the translucent markings on the reservoir body. The fluid should be clear to light amber; dark or foamy fluid warrants a professional inspection.
Inspect the windshield washer fluid
This is the simplest check: locate the washer fluid reservoir (it has a windshield or water symbol on the cap) and visually confirm the level. Top it off with commercially available washer fluid rated for your climate - not plain water, which can freeze in cold temperatures and may promote bacterial growth. This check takes under a minute and is easy to overlook until visibility becomes a safety issue.
Brake Fluid Is Safety-Critical
Brake fluid that is significantly low or heavily contaminated can compromise your stopping ability. If you notice the brake fluid reservoir is well below the minimum line, or the fluid appears very dark and murky, have a qualified mechanic inspect the brake system before driving. Do not delay - brake system issues are not a routine DIY fix.
Reading the Results and Knowing When to Call a Pro
A fluid that's simply low can often be topped off at home - provided you use the exact type specified in your owner's manual. But level isn't the only indicator of fluid health. Color, smell, and texture tell you a lot:
- Oil: Dark brown but not gritty is acceptable; jet-black, gritty, or milky signals a problem.
- Coolant: Should be bright-colored and translucent; rust-colored or oily suggests contamination.
- Brake fluid: Light yellow when fresh; dark brown after heavy use indicates it likely needs flushing by a qualified technician.
If a fluid is repeatedly low between checks, that's a sign of a leak or internal consumption issue - not a reason to keep topping it off indefinitely. Have a mechanic diagnose the cause. Dashboard warning lights can also signal fluid problems before you think to check manually; our guide on dashboard warning lights explains what each symbol means and how urgently to respond.
For a broader look at which maintenance tasks are reasonable to handle yourself versus when to hand the keys to a professional, see DIY car maintenance: what's reasonable. These fluid checks fall squarely in the safe-and-simple category - and doing them consistently is one of the most impactful habits a driver can build.