Why Composting Is Worth the Effort
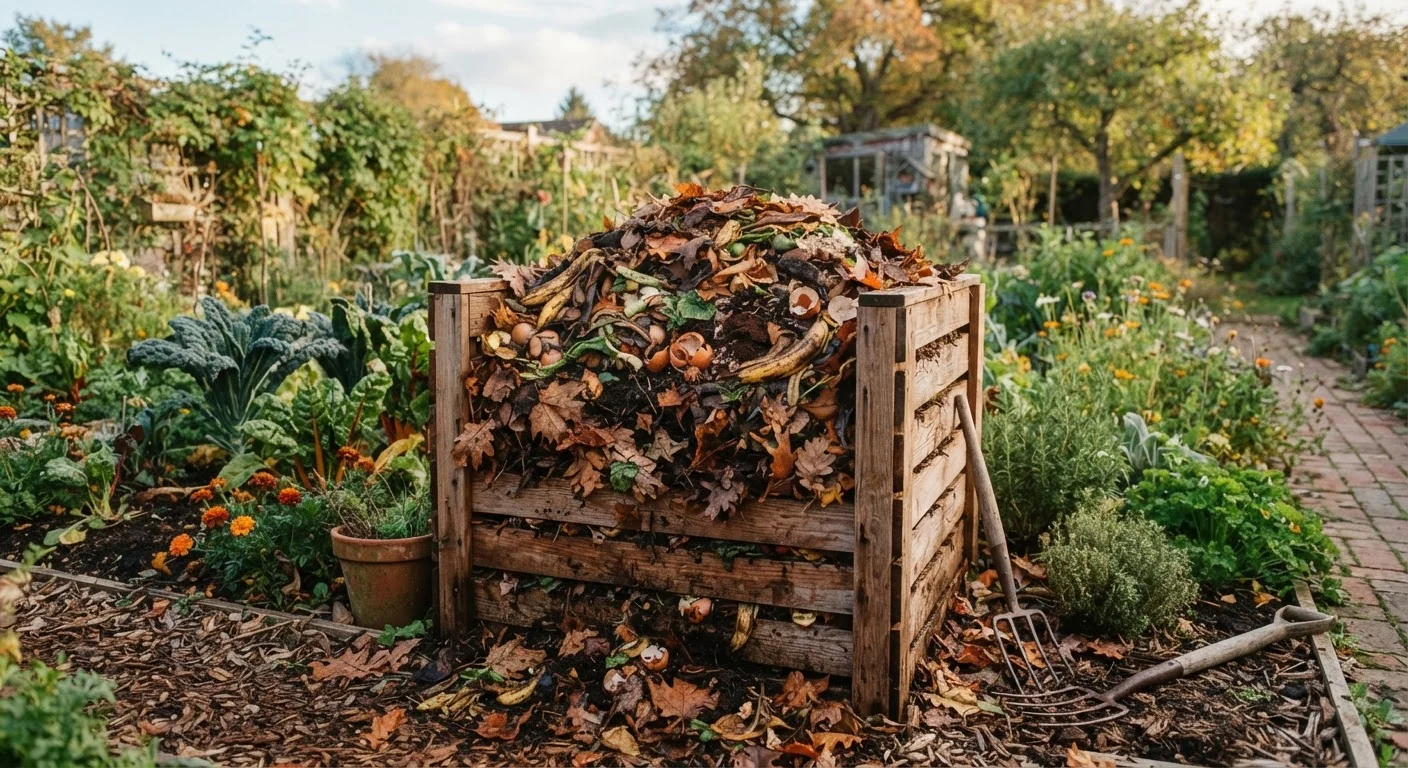
Composting turns what would otherwise be landfill-bound waste into a genuinely useful resource. The finished product - often called humus - improves soil in ways that synthetic fertilizers alone cannot replicate. It feeds soil microbes, increases water retention in sandy soils, improves drainage in clay soils, and buffers pH fluctuations over time. For homeowners building up garden beds from scratch, it's one of the most practical amendments available.
Beyond garden performance, composting diverts a meaningful volume of household waste. Food scraps and yard trimmings together make up a large share of what typical households throw away. Starting a pile is one of the more concrete, low-effort sustainability steps available to everyday gardeners - and the only investment required is a bit of space and attention.
If you're setting up a garden for the first time, see our guide to starting a garden from scratch for context on how compost fits into overall soil preparation.
Compost bin or wire mesh enclosure
Contains the pile, retains heat, and keeps pests out while allowing airflow.
Garden fork or pitchfork
Used to turn and aerate the compost pile regularly.
Garden hose or watering can
Maintains adequate moisture levels throughout the pile.
Compost thermometer
Measures internal pile temperature to confirm active decomposition is occurring.
Kitchen countertop collection bin
Collects food scraps conveniently before transferring them to the outdoor pile.
What You Can and Cannot Compost
Knowing what belongs in the pile prevents the most common problems. The following materials are generally suitable:
- Browns (carbon sources): Dry leaves, cardboard and paper (shredded), straw, wood chips, paper egg cartons, paper bags
- Greens (nitrogen sources): Vegetable and fruit scraps, coffee grounds and paper filters, tea bags (check for plastic mesh), fresh grass clippings, plant trimmings, eggshells
Eggshells break down slowly but contribute calcium and help neutralize acidity over time - they're worth including despite their slow decomposition rate.
Keep These Out of Your Pile
Never add meat, fish, bones, dairy products, or cooking oils to a home compost pile. These materials attract pests, create odors, and can introduce pathogens. Diseased plant material and pet waste should also be excluded, as standard backyard piles typically don't reach temperatures high enough to neutralize the associated risks.
Grass clippings are a valuable nitrogen source, but add them in thin layers rather than thick clumps, which mat together and block airflow. If you've recently treated your lawn with herbicides, allow a few mowing cycles before adding clippings to avoid potential carryover effects. For more on managing lawn inputs thoughtfully, the lawn care fundamentals article covers timing and treatment considerations in depth.
What you will need
Step-by-Step: Building and Maintaining Your Pile
Speed Up Decomposition Naturally
Chop or shred materials before adding them to your pile. Smaller particle sizes dramatically increase surface area for microbial activity, which can cut weeks off your composting timeline. A simple garden fork or lawn mower run over fallen leaves works well.
Choose and set up your composting location
Select a level, well-drained spot that gets partial sun. Full shade slows decomposition; full sun dries out the pile too quickly. Position the bin or pile within easy reach of both your yard and kitchen door to reduce friction in the habit. Keep it at least a few feet from wooden fences or structures to allow airflow and minimize moisture damage.
Understand the browns-to-greens ratio
Successful composting depends on balancing carbon-rich "browns" and nitrogen-rich "greens." Browns include dry leaves, cardboard, straw, paper, and wood chips. Greens include vegetable peels, fruit scraps, coffee grounds, grass clippings, and fresh plant trimmings. Aim for roughly two to three parts browns for every one part greens by volume. Too many greens and the pile turns slimy and smells; too many browns and decomposition stalls.
Start layering your materials
Begin with a 4-6 inch base layer of coarse browns like wood chips or small twigs - this encourages drainage and airflow from the bottom. Alternate layers of greens and browns as you add material, finishing each addition of food scraps with a light covering of browns to suppress odor and deter flies. There's no need for rigid layering over time; simply mixing works fine once the pile is established.
Manage moisture and aeration
Your pile should feel about as moist as a wrung-out sponge - damp throughout, but not dripping. If it's too dry, add water gradually while turning. If it's too wet and smells, add more browns and turn to introduce air. Turn the pile with a garden fork every one to two weeks, pulling outer materials toward the center where heat is most intense. This is the single most impactful action you can take to speed decomposition.
Recognize when compost is finished
Finished compost is dark brown, crumbly, and smells like fresh earth. You should not be able to identify the original materials. The center of an active pile can reach 130-160°F during peak decomposition - a compost thermometer confirms this, though it's optional. If the pile has cooled, shrunk significantly, and looks uniform, it has likely matured. This process typically takes two to six months depending on conditions and how often you turn the pile.
Apply finished compost to your garden
Spread a 1-3 inch layer of finished compost over garden beds and work it lightly into the top few inches of soil before planting, or use it as a mulch top-dressing around established plants. Compost improves soil structure in both clay and sandy soils, supports beneficial microbial life, and provides a slow, gentle nutrient release. It can also be mixed into potting soil for containers - see container gardening considerations for guidance on appropriate ratios.
Troubleshooting Common Compost Problems
Even well-intentioned piles run into issues. Here's how to read the signs and correct course:
| Problem | Likely Cause | Fix |
|---|---|---|
| Bad smell (rotten egg odor) | Too wet, not enough air | Turn the pile; add browns |
| No activity, pile not heating | Too dry or too many browns | Add water and greens; turn |
| Pests attracted to pile | Food scraps exposed or improper materials added | Bury scraps; cover with browns; check materials list |
| Pile taking too long | Pieces too large, not turned enough | Shred materials; turn more frequently |
Patience is part of the process. Even a neglected pile will eventually decompose - active management simply speeds things along. Once you have a steady supply of finished compost, you'll have a natural complement to strategies like companion planting, where healthy soil is a prerequisite for the plant partnerships to perform well.