Why Small Upgrades Add Up in Older Homes
Homes built before modern energy codes - generally anything constructed before the 1980s - were designed with less attention to airtightness and insulation than today's standards require. The result is a building envelope full of small gaps, thin insulation layers, and drafty penetrations that quietly drain heat in winter and cool air in summer.
The good news is that you don't need a full renovation to make a meaningful difference. A collection of targeted, low-cost upgrades can tighten the envelope considerably. None of the items on this list require specialized tools or permits, and most can be completed in under an hour. Paired with regular seasonal maintenance - see our seasonal home maintenance checklist - these upgrades form a solid foundation for a more efficient older home.
Install outlet and switch-plate gaskets
Electrical outlets and light switches on exterior walls have cutouts that pass directly through the drywall - and in older homes, there's often little or no insulation behind the wall plate. Cold air can move through these openings more freely than you might expect.
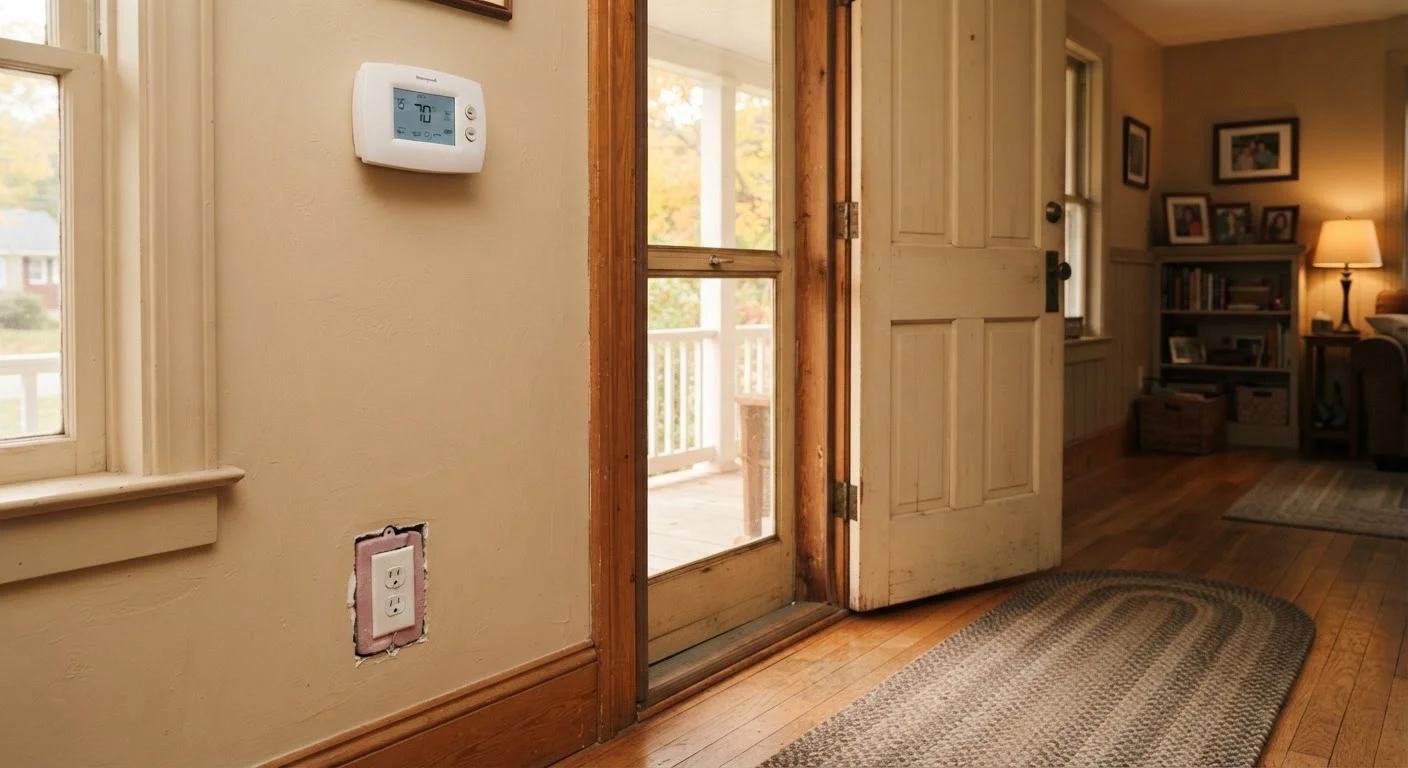
Foam gaskets designed to fit standard outlet and switch covers are widely available at hardware stores, typically sold in multipacks for just a few dollars. Installation takes seconds: remove the cover plate, press the gasket in place, and replace the cover. Focus first on outlets located on exterior-facing walls, as those are the most likely sources of infiltration.
Foam gaskets on exterior outlets take seconds to install and cost almost nothing.
Add or replace door sweeps
The gap between the bottom of an exterior door and the threshold is a surprisingly efficient pathway for cold air, pests, and moisture. In older homes, door sweeps are often missing entirely or worn down to the point of being ineffective.
Door sweeps attach to the interior bottom edge of the door and create a seal against the threshold when the door is closed. They're available in adhesive, screw-on, and automatic (spring-loaded) versions. For most standard doors, a screw-on sweep provides the most durable seal and can be installed with a screwdriver in about 15 minutes. Check all exterior doors, including garage entry doors.
A missing or worn door sweep is one of the most overlooked sources of drafts in older homes.
Apply weatherstripping around door and window frames
Weatherstripping creates a compressed seal between a door or window sash and its frame, blocking air movement around the perimeter. Over time - especially in older homes - existing weatherstripping compresses, cracks, or peels away entirely.
Check the condition of your weatherstripping by closing a door on a thin piece of paper and attempting to pull it out. If it slides freely, the seal is inadequate. Self-adhesive foam tape works for lighter-use windows; V-strip (tension seal) weatherstripping made of metal or plastic holds up better for frequently used doors. Replace worn sections before heating season for the best results.
If a piece of paper slides easily under a closed door, your weatherstripping needs replacing.
Insulate the attic access hatch
Attic hatches are among the most commonly overlooked heat-loss points in older homes. The hatch itself is usually just a thin piece of drywall or plywood - essentially uninsulated - sitting above a hole in your ceiling that opens directly to one of the coldest spaces in the house.
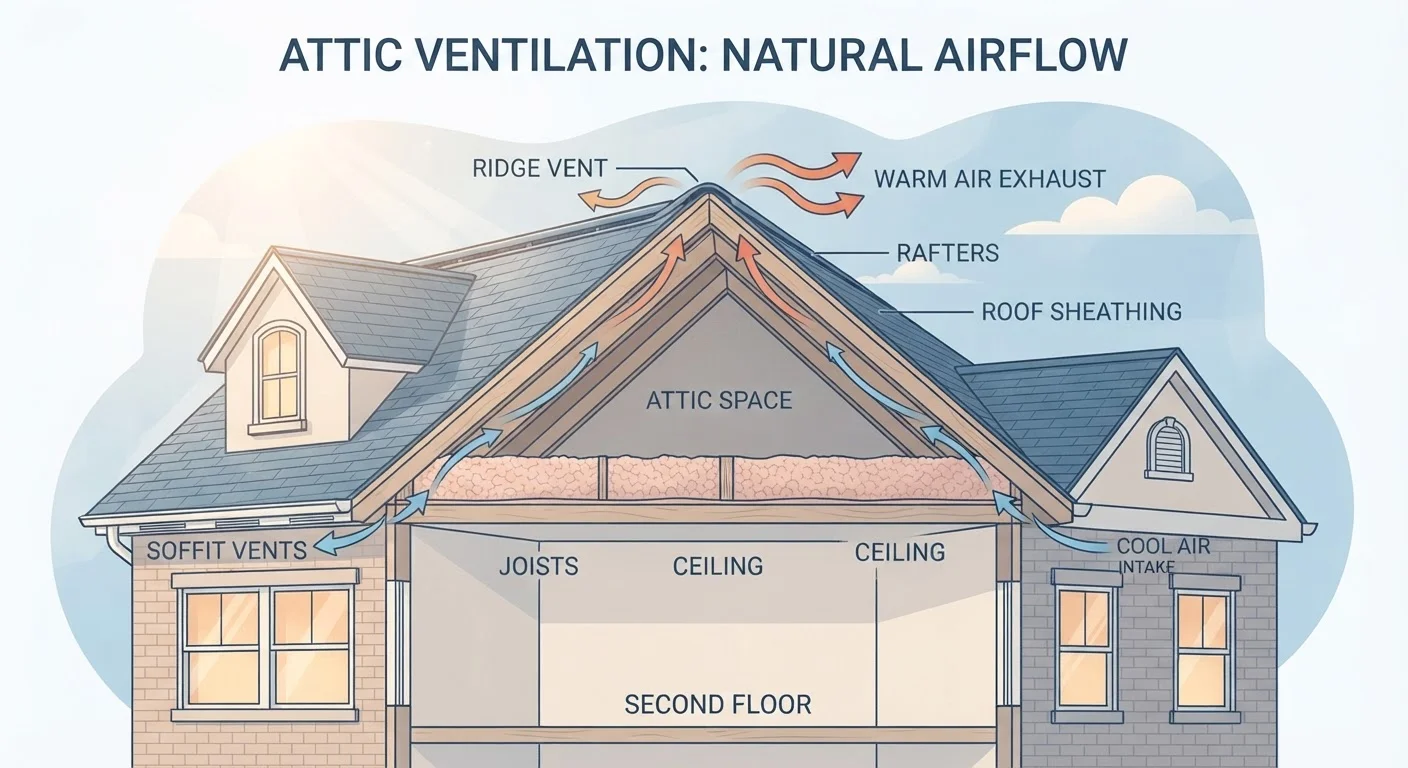
You can address this with rigid foam insulation board cut to fit and glued to the back of the hatch panel, creating a significantly more effective thermal barrier. Adding weatherstripping around the hatch frame further reduces air leakage. This upgrade pairs naturally with attention to overall attic performance - proper attic ventilation also plays a major role in keeping energy costs and moisture in check.
An uninsulated attic hatch can lose as much heat as leaving a window cracked open all winter.
Upgrade to a programmable or smart thermostat
A manual thermostat doesn't adapt to your schedule - it simply holds whatever temperature you last set. In practice, that often means heating or cooling an empty house at full power for hours at a time.
A programmable thermostat lets you set different temperatures for different times of day and days of the week, automatically dialing back when the house is empty or everyone is asleep. Smart thermostats go further, learning your patterns and allowing remote adjustment from a phone. Either option is a straightforward upgrade for most forced-air systems, though wiring configurations vary - consult an HVAC professional if you're unsure about compatibility with your existing system.
Automatically dialing back the thermostat while you're away or asleep reduces wasted energy without sacrificing comfort.
Wrap exposed hot water pipes
In older homes, water supply pipes in unheated spaces - basements, crawl spaces, or along exterior walls - often run completely bare. Hot water pipes lose heat to the surrounding air as water travels from the heater to the tap, which means the heater works harder to compensate.
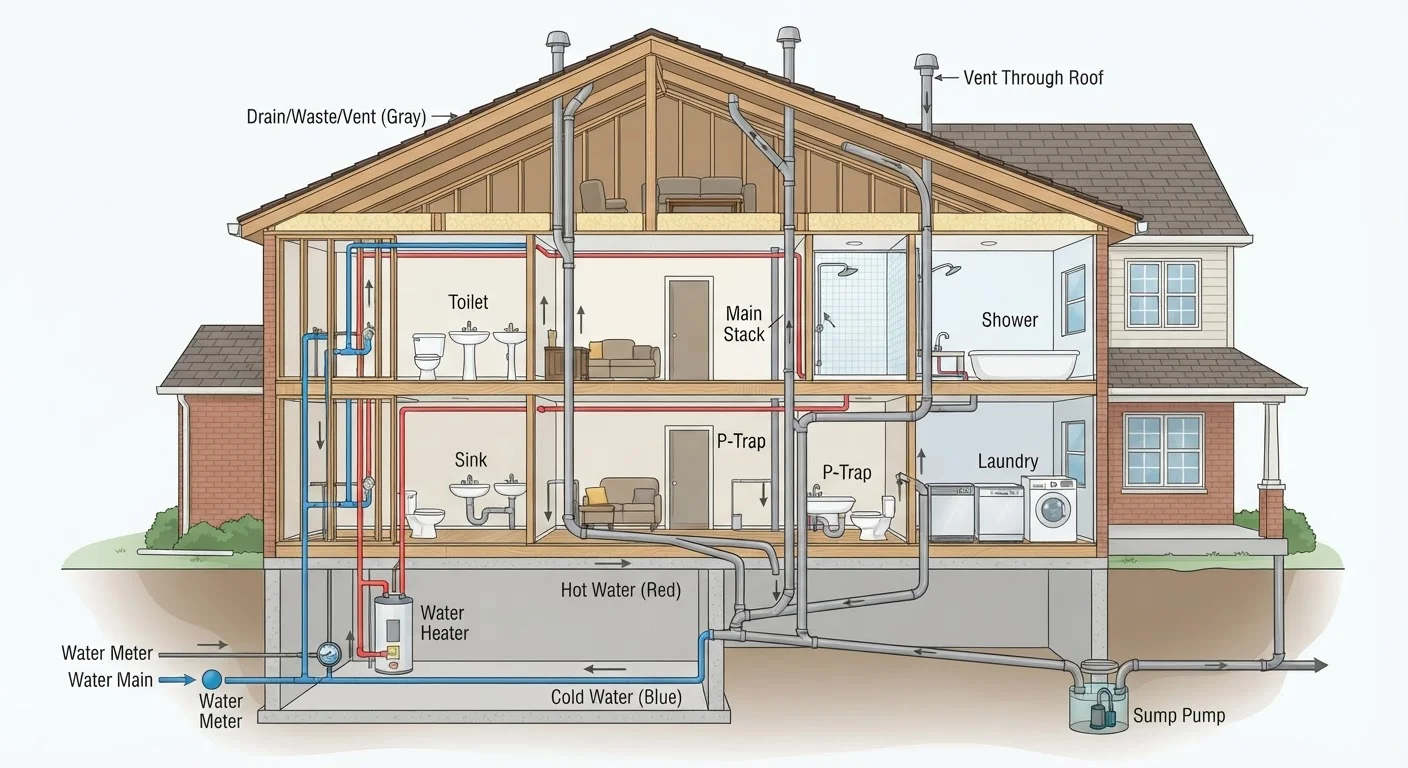
Pipe insulation sleeves made of foam are inexpensive, pre-slit for easy installation, and require no special tools. Wrap pipes within the first few feet of the water heater, as well as any pipes running through unheated spaces. This is also a useful cold-weather precaution, as insulated pipes are less vulnerable to freezing.
Insulating hot water pipes reduces standby heat loss and helps protect against wintertime pipe freezes.
Putting It All Together
None of these upgrades will transform an older home overnight, but the cumulative effect of several well-placed improvements is real. Think of energy efficiency as a system: every gap you seal, every drafty door you address, and every wasted heating cycle you eliminate contributes to a tighter, more comfortable home.
Start With a Simple Draft Inspection
Before purchasing any materials, do a walk-through on a cold or windy day with a lit incense stick or a damp hand near exterior walls, outlets, door frames, and window edges. Smoke movement or a chill indicates airflow you can target. This low-tech approach helps you prioritize where your dollars will have the most impact.
If you want to go deeper, consider scheduling a professional home energy audit. An auditor uses tools like a blower-door test to pinpoint exactly where your home is losing the most energy - giving you a prioritized list tailored to your specific house. It's also worth reviewing how attic ventilation affects your roof and energy performance, since the attic is one of the biggest contributors to energy loss in older homes.