Know Your Damage Before You Start
Not all drywall damage is created equal, and reaching for the same fix every time leads to repairs that show through paint or fail within months. Taking two minutes to assess the damage type saves hours of rework.
There are three main categories homeowners encounter:
- Small holes and nail pops - typically under ½ inch in diameter. These include nail holes, screw dimples, and minor surface dings.
- Cracks - hairline surface cracks are usually cosmetic; wider cracks or those running diagonally from window and door corners may indicate settling and deserve closer attention.
- Medium to large holes - from doorknob impacts, removed fixtures, or accidental damage. Holes over about 4-6 inches need structural backing before compound can be applied.
Once you've identified what you're dealing with, gathering the right materials is straightforward.
What you will need
Tools and Materials You'll Need
Drywall repair requires only a modest toolkit for most common jobs. Having everything on hand before you start prevents mid-project scrambles.
Putty knife or drywall knife (4-6 inch)
Used to apply and feather joint compound smoothly over the repair area.
Pre-mixed all-purpose joint compound
The primary filler material for all drywall repairs, from nail holes to large patches.
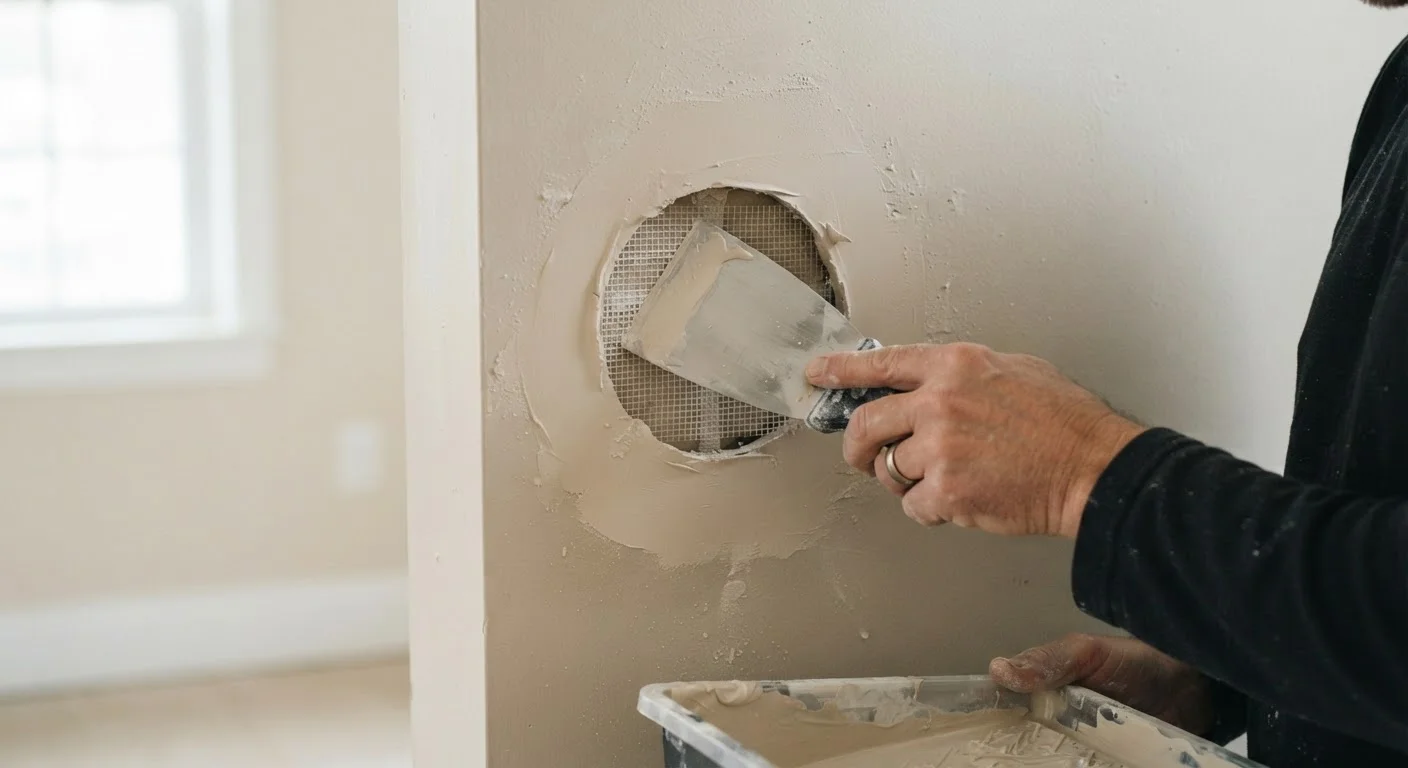
Self-adhesive mesh patch or patch kit
Provides structural backing for medium to large holes before compound is applied.
Sandpaper (120-grit and 220-grit)
Smooths dried compound between coats and before priming.
Drywall primer
Seals the repaired surface so paint adheres evenly without dull spots.
Backing board (1×3 or 1×4 wood strip)
Provides internal structural support for large holes that exceed 6 inches.
Drywall screws and drill
Secures a backing board or replacement drywall panel inside a large hole.
Step-by-Step Repair Instructions
Follow the steps below for each damage type. Where instructions differ by damage size, those differences are clearly noted.
Prepare the damaged area
Remove any loose paper, crumbling edges, or protruding fasteners around the damaged area. For nail pops, drive the nail slightly below the surface with a hammer and nail set, then add a drywall screw 2 inches above and below the pop to re-secure the panel to the stud. For cracks, use a utility knife to widen the crack slightly into a shallow V-shape - this gives compound something to grip.
Apply backing for medium and large holes
For holes between 2 and 6 inches, press a self-adhesive mesh patch firmly over the hole so it overlaps onto solid drywall on all sides. For holes larger than 6 inches, insert wood backing strips through the hole, screw them to the existing drywall from the front, then cut a drywall piece to fit and screw it to the backing. Skip this step for nail holes and small dings.
Apply the first coat of joint compound
Load a modest amount of pre-mixed joint compound onto your putty knife. Press it firmly into the hole or crack, then draw the knife across the surface at a low angle to leave a thin, even layer. Extend this first coat about 2-3 inches beyond the edges of the damage. The goal is adhesion and fill, not a perfect surface - it will shrink slightly as it dries.
Sand and apply additional coats
Allow the first coat to dry completely - typically 4 to 8 hours depending on humidity and temperature. It will lighten in color as it dries. Once dry, sand lightly with 120-grit sandpaper to knock down ridges. Apply a second coat, feathering the edges 2-3 inches wider than the first. For larger patches, a third coat feathered even wider creates a gradual, invisible transition. Sand each coat after it dries.
Final sand and clean up
After the final coat is fully dry, do a final sanding pass with 220-grit sandpaper for a smooth surface. Run your hand across the patch - it should feel flush and uniform. Wipe the area with a lightly damp cloth or tack cloth to remove all dust before priming and painting.
Finishing and Painting the Repaired Area
A well-executed repair can still look obvious if finishing steps are skipped. Once all compound coats are fully dry - touch the surface; it should feel completely hard, not cool or soft - sand lightly with 120-grit sandpaper in a circular motion until the patch blends flush with the surrounding wall.
Wipe the area with a slightly damp cloth to remove all dust. Apply a coat of drywall primer before painting. Skipping primer over fresh compound almost always results in a flash - a dull, flat spot that shows through even quality paint. For a seamless result, plan to roll or brush paint slightly beyond the repaired zone so the sheen matches. For more guidance on avoiding uneven finishes, see our guide on common interior painting mistakes.
Prime Before You Paint - Always
Unpainted joint compound is highly porous and absorbs paint unevenly, leaving a dull patch called a 'hot spot' that's visible even after two coats of paint. A single coat of drywall-specific primer seals the surface and ensures color and sheen match the surrounding wall. This step adds only 30 minutes of dry time and eliminates the need to repaint the entire wall.