Why Grout Cracks in the First Place
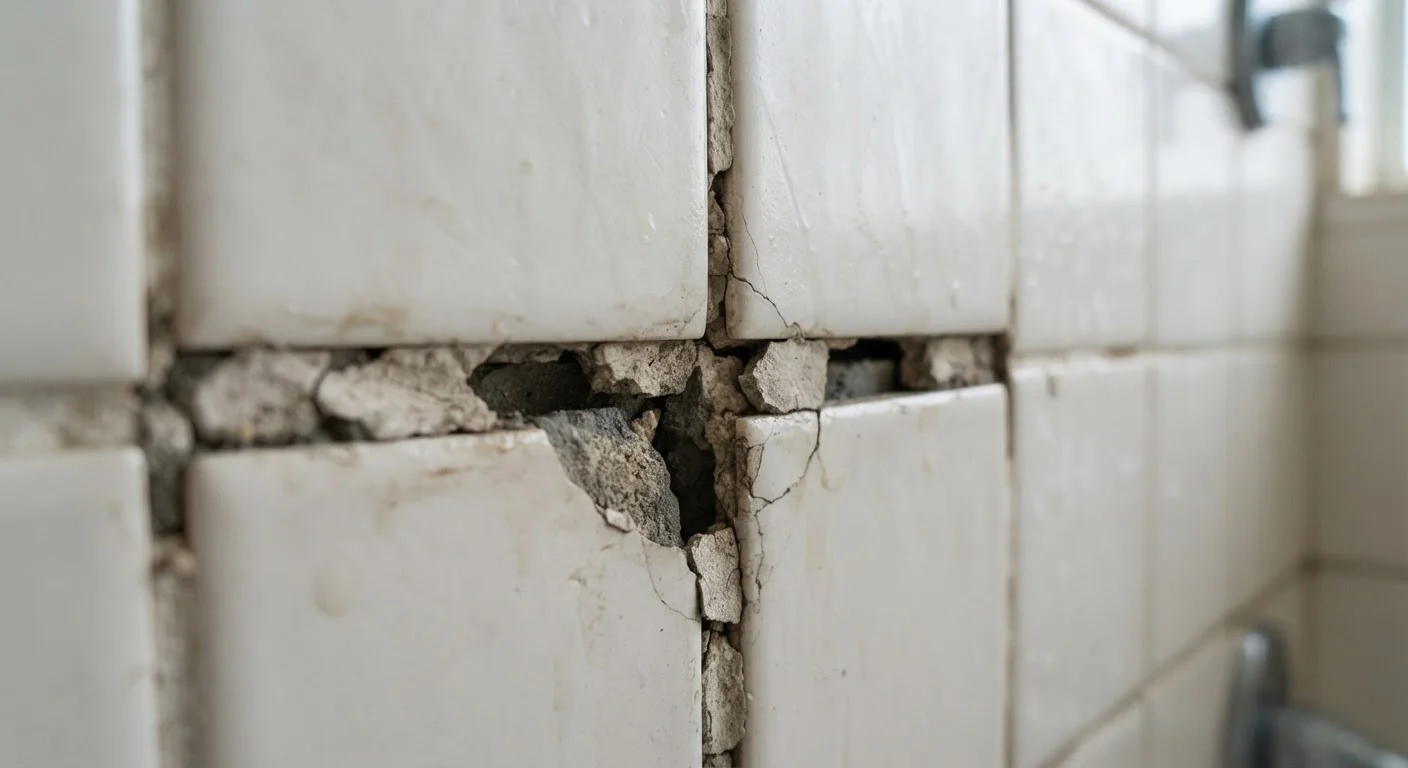
Grout cracks for several distinct reasons, and identifying the cause helps you fix it properly - and prevent it from happening again.
- Normal building movement: Houses settle, floor joists flex, and temperature changes cause slight expansion and contraction. Rigid grout can't flex with this movement, so it fractures. This is especially common on large-format tile floors and in corners.
- Improper installation: If the tile was set with insufficient adhesive coverage - leaving voids under the tile - foot traffic creates micro-movement that cracks grout prematurely. Similarly, if grout was mixed too wet or applied before the thinset fully cured, the result is weakened joints.
- Wrong grout type: Unsanded grout used in wide joints (over 1/8 inch) lacks the aggregate to stay stable. Conversely, sanded grout in very narrow joints can crack due to poor compaction. Using the correct grout for joint width matters.
- Corners and transitions: Where a floor meets a wall, or where tile meets a different material, movement stress concentrates. These spots should always be filled with flexible caulk, not grout - yet many installations skip this detail.
Test for Hollow Tiles Before You Regrout
Before investing time in regrout, tap each tile in the affected area with a coin. A hollow or drum-like sound indicates the tile has separated from its substrate - possibly due to water damage. Regrouting over debonded tiles won't hold. Address any hollow tiles first, or consult a tile professional if the problem is widespread.
The Real Risks of Ignoring Cracked Grout
A small crack might not look alarming, but its consequences depend heavily on where it sits. In a dry entry hall, you may have months before it becomes a real issue. In a shower or around a bathtub, deteriorating grout is an active water-damage risk.
Water that gets past cracked grout can saturate the substrate - the backer board or, in older homes, mortar bed - and eventually reach wood framing. Over time, this leads to mold growth inside walls, wood rot, and tiles that loosen as their bond fails. Repairs at that stage are significantly more involved and costly than a simple regrout.
Tap suspect tiles with a coin or knuckle. A hollow sound instead of a solid thud means the tile has already debonded from the substrate - a sign that water intrusion may have progressed. If you find several hollow tiles clustered together, consult a tile professional before proceeding with a DIY repair.
How to Regrout a Tile Surface
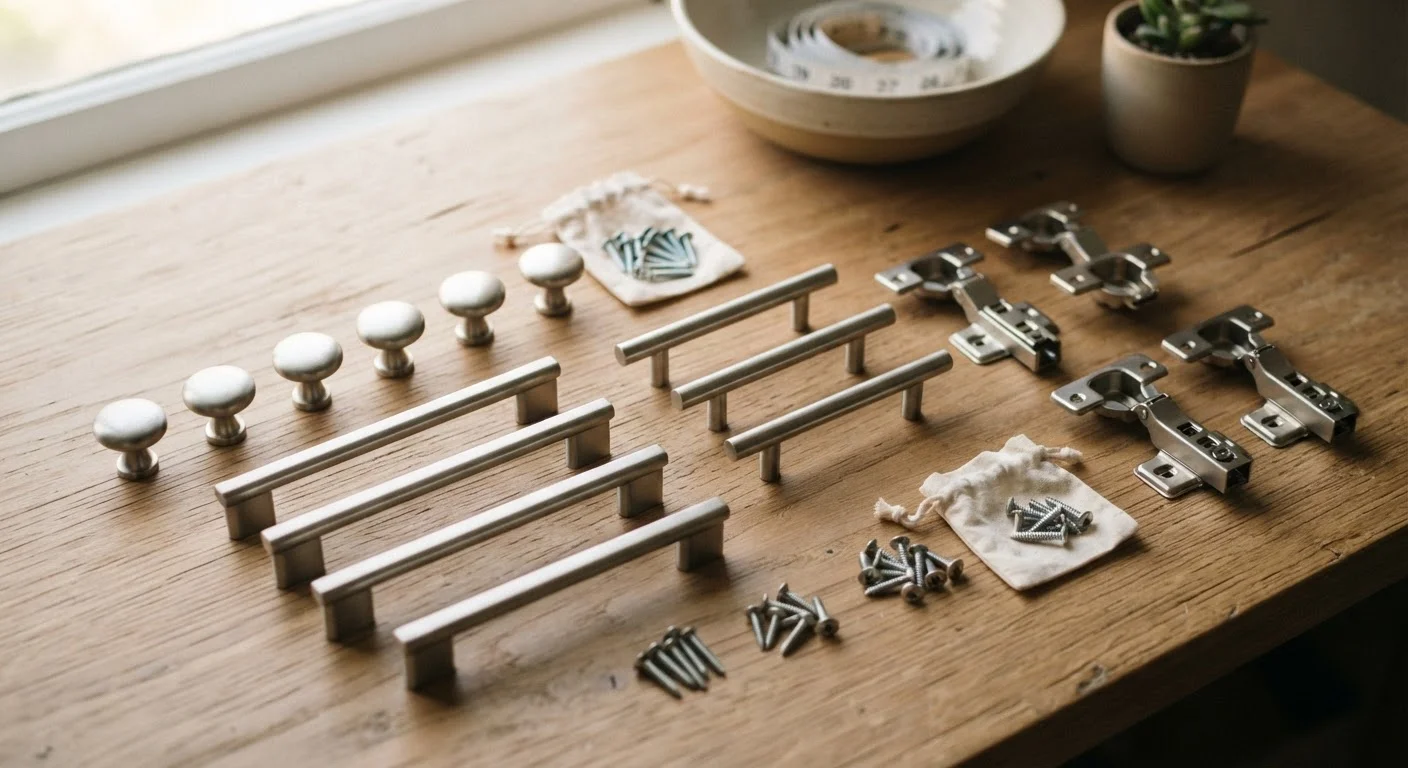
For localized cracking with sound tiles and no signs of substrate damage, regrouting is a manageable DIY project. Gather your materials before you start: a grout saw or oscillating tool with a grout removal blade, replacement grout matched to your joint width, a grout float, a bucket, sponge, and clean water.
- Remove the old grout: Use a manual grout saw or an oscillating tool to cut out damaged grout to a depth of roughly 2/3 the tile thickness. Work carefully to avoid chipping tile edges. Vacuum out all dust and debris.
- Mix or open your grout: Follow the manufacturer's instructions precisely. Over-watering grout weakens the final result. Pre-mixed grout is convenient for small repairs; powdered grout gives more control for larger jobs.
- Apply the grout: Press grout firmly into joints using a rubber grout float held at a 45-degree angle, working diagonally across the tile surface to pack joints fully. Remove excess grout from tile faces immediately.
- Clean and shape: Once the grout begins to firm (typically 15-20 minutes), wipe away haze with a damp - not soaking - sponge. Rinse the sponge frequently. Shape joints lightly with a damp finger if needed.
- Cure and seal: Allow grout to cure per manufacturer directions, usually 48-72 hours. Then apply a penetrating grout sealer to protect the fresh joints.
Corners, Caulk, and Long-Term Prevention
Once your regrout is complete, address the root causes to prevent a repeat. Interior corners - where the floor meets the wall in a shower, for instance - should be filled with a color-matched sanded caulk rather than grout. Caulk is flexible and designed to absorb the slight movement these transitions experience. Many tile manufacturers and industry standards support this approach for precisely this reason.
To slow future deterioration, ensure your bathroom has adequate ventilation to reduce the humidity that cycles through grout daily. A quality bathroom exhaust fan running during and after showers makes a measurable difference in how long grout holds up. Finally, inspect grout lines annually and address small cracks early - it's far easier to touch up a single failing joint than to regrout an entire shower.