Why Your Toilet Keeps Running
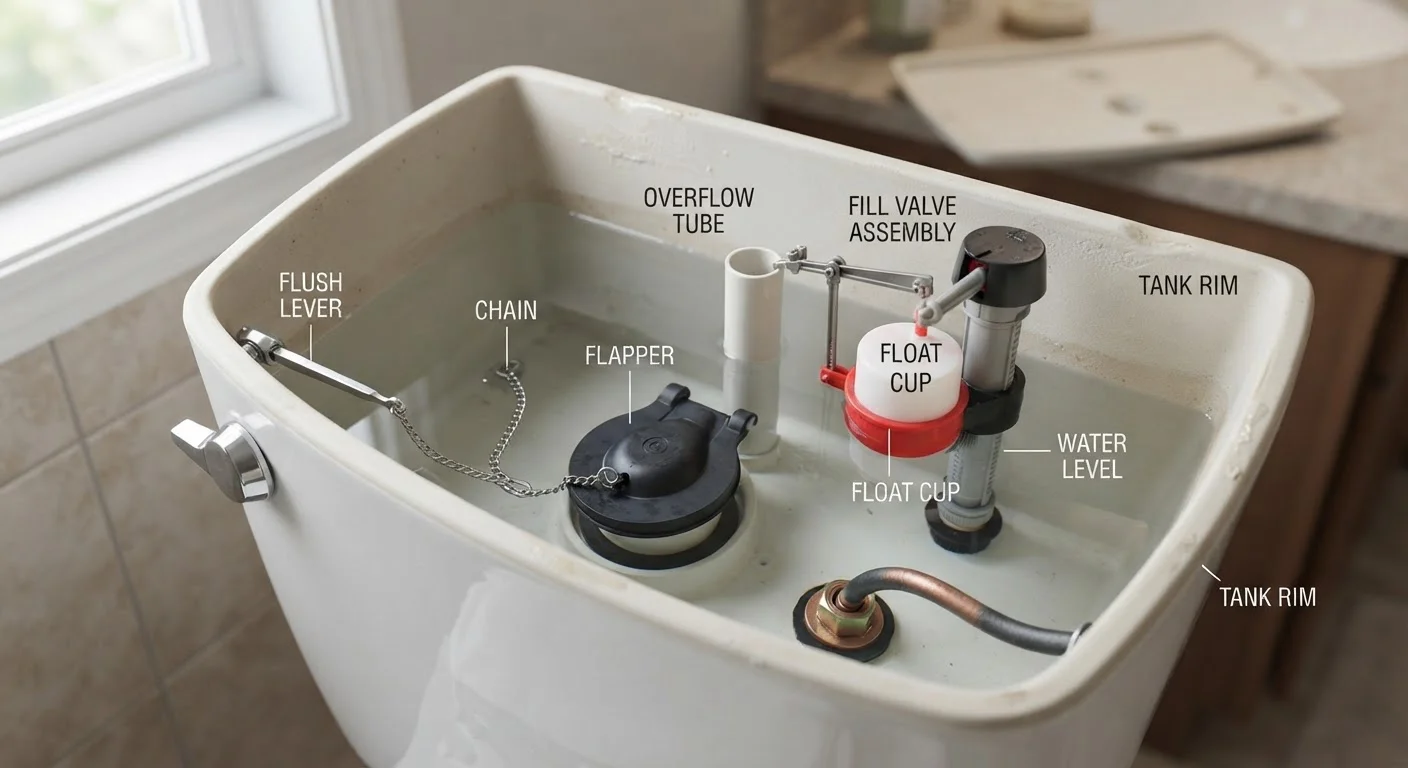
A constantly running toilet is more than an annoyance - it can waste a significant amount of water and noticeably increase your monthly utility bill. Fortunately, the cause is almost always one of three components inside the tank: the flapper, the fill valve, or the float. Understanding what each part does makes diagnosing the problem straightforward.
The flapper is a rubber seal at the bottom of the tank that opens when you flush and closes to allow the tank to refill. Over time, rubber deteriorates and the flapper no longer creates a watertight seal, allowing water to continuously trickle into the bowl.
The fill valve controls water flowing into the tank from your home's supply line. If it's worn or clogged, it may not shut off correctly once the tank is full.
The float - either a ball-style float on an arm or a cup-style float on the fill valve shaft - signals when the tank is full and tells the fill valve to stop. If the float is set too high or is waterlogged, the tank overfills and water drains through the overflow tube, keeping the fill valve running indefinitely.
The Food Coloring Test
Unsure whether your flapper is leaking? Add a few drops of food coloring to the tank - don't flush - and wait 10-15 minutes. If color appears in the bowl without flushing, the flapper isn't sealing and needs replacement. This is a simple, no-tools diagnostic step worth doing before buying any parts.
What You'll Need
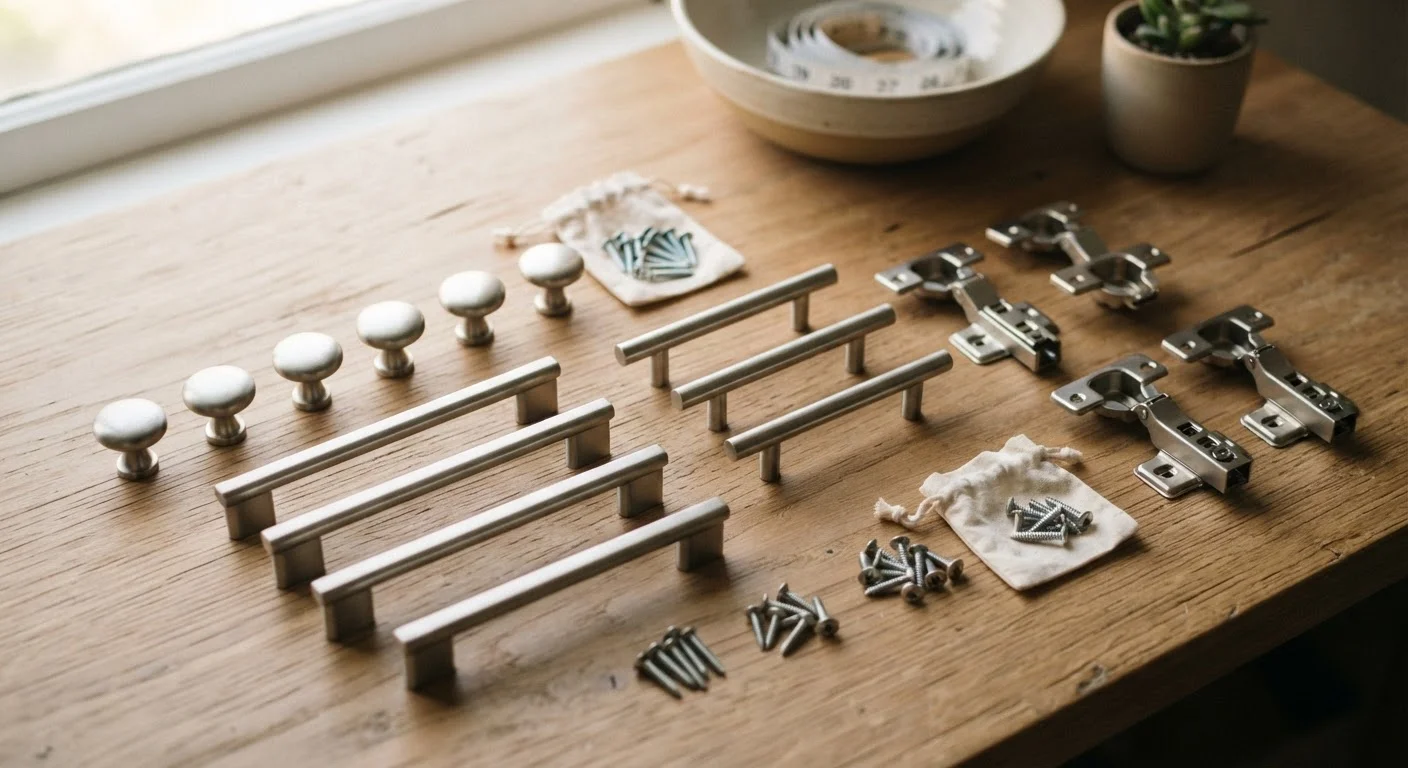
Before opening the tank, gather your materials. Most of these are common household items or inexpensive hardware store purchases.
What you will need
Adjustable pliers or channel-lock pliers
Used to loosen and tighten the fill valve locknut and supply line connection under the tank.
Replacement flapper
Replaces a worn or leaking flapper to restore a watertight seal at the bottom of the tank.
Replacement fill valve
Replaces a malfunctioning fill valve that won't shut off properly after the tank fills.
Sponge or small towel
Absorbs remaining water at the bottom of the tank after shutting off the supply.
Bucket
Catches any water drained from the supply line when disconnecting it during fill valve replacement.
Step-by-Step Repair Instructions
Work through these steps in order. In many cases, you'll identify and fix the issue before reaching the end of the list.
Remove the tank lid and diagnose
Carefully lift the porcelain lid off the tank and set it on a stable, flat surface - tank lids are heavy and break easily. Listen and look. If you can see water spilling into the overflow tube (the tall open pipe in the center of the tank), the float is set too high. If the water level is below the overflow tube, press down gently on the flapper with your finger. If the running stops, the flapper is the culprit.
Shut off the water supply
Locate the shutoff valve on the wall or floor behind the toilet. Turn it clockwise until it stops. Flush the toilet once to empty most of the water from the tank. This gives you a dry workspace and prevents unintentional flooding while you make repairs.
Inspect and replace the flapper
Unhook the flapper from the pegs on either side of the flush valve and disconnect the chain from the flush handle arm. Examine the rubber for warping, mineral deposits, or visible cracks. Even if it looks intact, a flapper that's several years old may no longer seal properly. Take the old flapper to the hardware store to match the size, or note your toilet's make and model. Snap the new flapper onto the pegs and reattach the chain, leaving about half an inch of slack - too much slack causes incomplete flushes; too little prevents the flapper from seating fully.
Adjust or replace the fill valve
Turn the water back on briefly and watch the fill valve as the tank refills. If it doesn't shut off cleanly when the water reaches the correct level (typically about an inch below the top of the overflow tube), the fill valve needs adjustment or replacement. Many modern fill valves have an adjustment screw or clip on top - turning it counterclockwise lowers the cutoff point. If adjustment doesn't help, replacing the fill valve is a straightforward task: disconnect the supply line under the tank, unscrew the locknut holding the valve in place, lift it out, and install the new one according to the manufacturer's instructions.
Adjust the float
If water is spilling into the overflow tube, the float is triggering the fill valve to stop too late. On a ball-float style, bend the arm slightly downward or turn the adjustment screw on the arm to lower the float position. On a cup-style float (found on most modern fill valves), pinch the clip and slide it down the shaft, or turn the adjustment screw counterclockwise. The target water level is roughly one inch below the top of the overflow tube. Turn the water back on and confirm the tank stops filling at the correct level.
Test and confirm the repair
With all components in place and the water supply on, allow the tank to fill completely. Listen for the fill valve to shut off. Watch for 60-90 seconds to confirm no water continues to run. Then flush once and observe the full cycle: flush, drain, refill, and shut off. If silence follows, the repair is complete. Replace the tank lid carefully.
When to Call a Professional
These repairs address the most common causes of a running toilet. However, if you've replaced the flapper and fill valve, correctly adjusted the float, and the toilet still runs, the issue may lie deeper - such as a cracked overflow tube, a faulty flush valve seat, or supply line pressure problems. At that point, consulting a licensed plumber is a sensible next step rather than continuing to troubleshoot on your own.
Similarly, if you notice water on the floor around the base of the toilet, cracks in the porcelain, or signs of a slow leak into the subfloor, stop DIY repairs and contact a professional promptly. Those issues go beyond tank hardware and can cause structural damage if left unaddressed.
For most homeowners, though, the steps above are all it takes to stop the running and restore quiet - and that's a genuinely satisfying fix to make yourself.