Why Getting This Right Matters
Drafts aren't just uncomfortable - they drive up heating and cooling costs and can contribute to moisture problems over time. The good news is that caulk and weatherstripping are both affordable, DIY-friendly materials. The challenge is knowing which one to reach for, because they solve the same broader problem in very different ways.
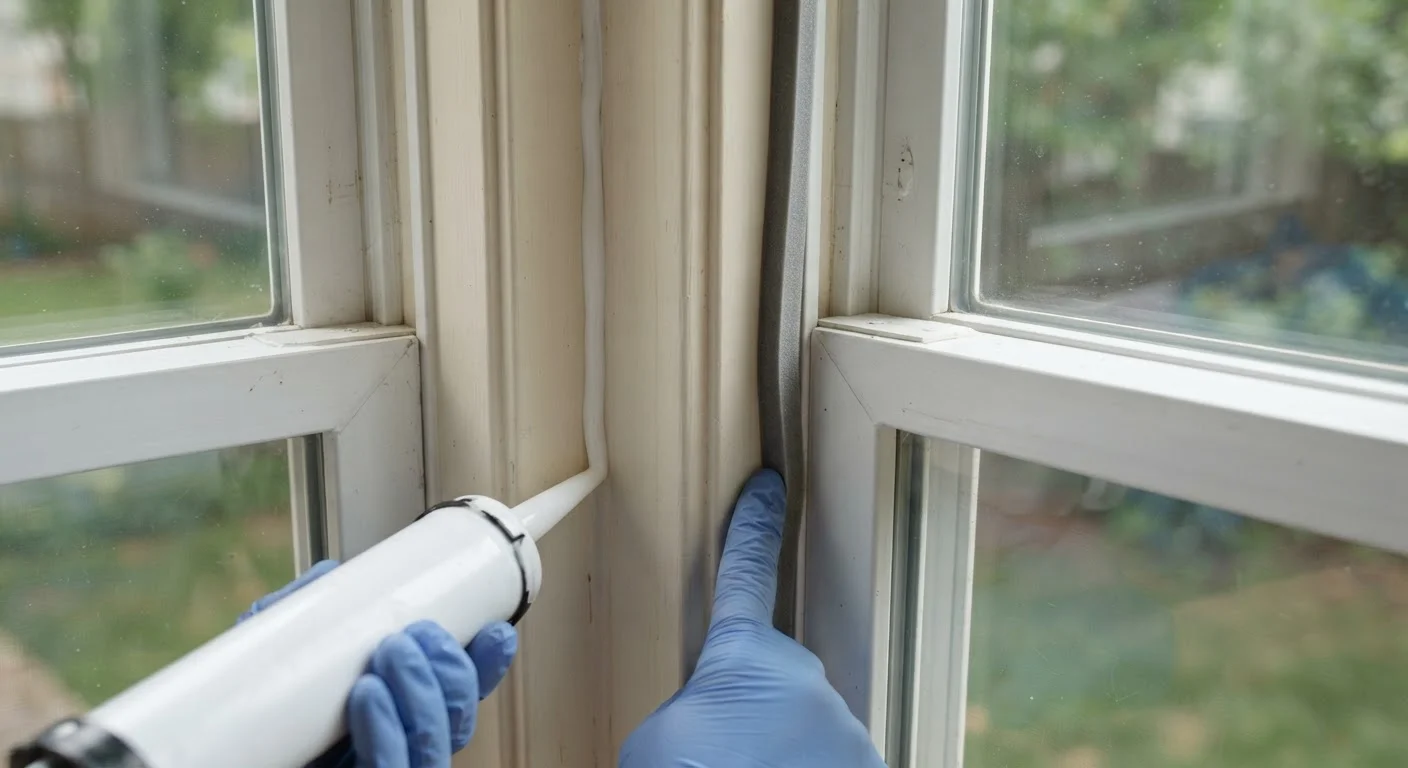
The core distinction comes down to movement. If the gap you're sealing is between two surfaces that never move relative to each other - such as the joint between a window frame and the wall - caulk is your tool. If the gap involves a surface that opens, closes, or slides - like the edge of a door or a double-hung window sash - weatherstripping is the correct choice. Using caulk on a moving joint will cause it to crack and pull away quickly. Applying weatherstripping to a fixed gap won't create the durable, bonded seal that fixed surfaces need.
| Criterion | Caulk | Weatherstripping |
|---|---|---|
| Best surface type | Stationary, fixed joints | Moving parts (doors, sashes) |
| Application method | Gunned or squeezed into gap | Pressed, nailed, or screwed on |
| Typical lifespan | 5-10 years (varies by type) | 2-5 years (varies by material) |
| Moisture resistance | High (silicone), moderate (latex) | Varies by material type |
| DIY skill level needed | Beginner | Beginner |
| Paintable | Yes (latex); No (pure silicone) | Generally no |
| Tolerates repeated movement | No - will crack and peel | Yes - designed for it |
Where and How to Use Caulk
Caulk works by filling a gap and bonding to both sides, creating a continuous, slightly flexible seal. It comes in several formulations suited to different applications:
- Silicone caulk: Highly durable and waterproof, best for exterior applications and high-moisture areas like kitchens and bathrooms. Harder to paint over.
- Acrylic latex (painter's) caulk: Easier to work with and paintable, ideal for interior trim, baseboards, and indoor window frames.
- Siliconized latex: A hybrid that combines paintability with better moisture resistance - a versatile choice for many interior and exterior joints.
Before applying caulk, remove any old, cracked caulk with a utility knife or caulk remover tool. Clean the surface thoroughly and allow it to dry completely. Apply caulk in a steady bead, pressing gently into the gap, then smooth it with a wet finger or caulk tool. Allow the full cure time listed on the product label before exposing it to moisture or painting.
Common locations for caulk include: the perimeter of window and door frames where they meet the wall, joints between trim molding and walls, gaps around pipes or wires entering through walls, and baseboards against floors.
Where and How to Use Weatherstripping
Weatherstripping is a physical barrier that compresses when a door or window closes and springs back when it opens. Choosing the right type depends on the specific gap, the amount of daily use, and how large the gap is.
- Foam tape: Self-adhesive, inexpensive, and easy to install. Best for lightly used windows and cabinet doors. Compresses well but wears out faster under heavy use.
- V-strip (tension seal): A durable plastic or metal strip folded into a V-shape. Fits into door and window channels and holds its shape well over time - a good long-term solution for the sides of doors.
- Door sweeps: Attach to the bottom of a door to seal the gap between the door and threshold. Available in several styles; choose one that allows the door to open and close without binding.
- Door shoe: A more permanent option that replaces or reinforces the bottom threshold seal.
To install weatherstripping, clean the surface first and measure carefully before cutting. Press foam tape firmly into place or use the manufacturer's fasteners for V-strip and door sweeps. Test the door or window for smooth operation - the seal should be snug enough to eliminate light gaps but not so tight that it causes resistance.
Check Your Door Gap Size Before Choosing
Most weatherstripping products are rated for specific gap ranges, typically between 1/8 inch and 1/2 inch. If your door has an unusually large gap at the bottom, a door sweep alone may not be sufficient - a combination of a threshold replacement and a door shoe may be needed. Measure the gap at its widest point before purchasing materials to avoid guesswork at installation.
Combining Both for Full Coverage
In most real-world scenarios, a thorough draft-sealing project calls for both products working together. A typical exterior door, for example, may need caulk along the stationary frame where it meets the wall, plus weatherstripping on all four sides of the door slab itself, plus a door sweep at the bottom threshold. Each product handles its designated zone, and together they close off virtually all air infiltration pathways.
A useful approach is to perform a draft inspection first. On a windy day, hold a lit incense stick or a thin piece of tissue near suspected gaps - movement reveals air leaks. Start with the largest, most obvious gaps, and work your way around systematically. Always apply caulk to fixed surfaces first, then address moving components with the appropriate weatherstripping material. This sequence avoids accidentally caulking over areas where weatherstripping will later need to be installed.
Routine maintenance matters too. Inspect caulk annually for cracking or separation, particularly on exterior joints exposed to sun and temperature swings. Check weatherstripping each fall before heating season - compressed or torn material loses most of its sealing effectiveness and is inexpensive to replace.